Said Pastry Nerd
Hey

Want to learn step by step at your time but with my support ? Sign up a masterclass and :)

Sign up a master class and learn with me new recipes and tips.

All masterclasses >

Super silky and simple Chocolate Tart

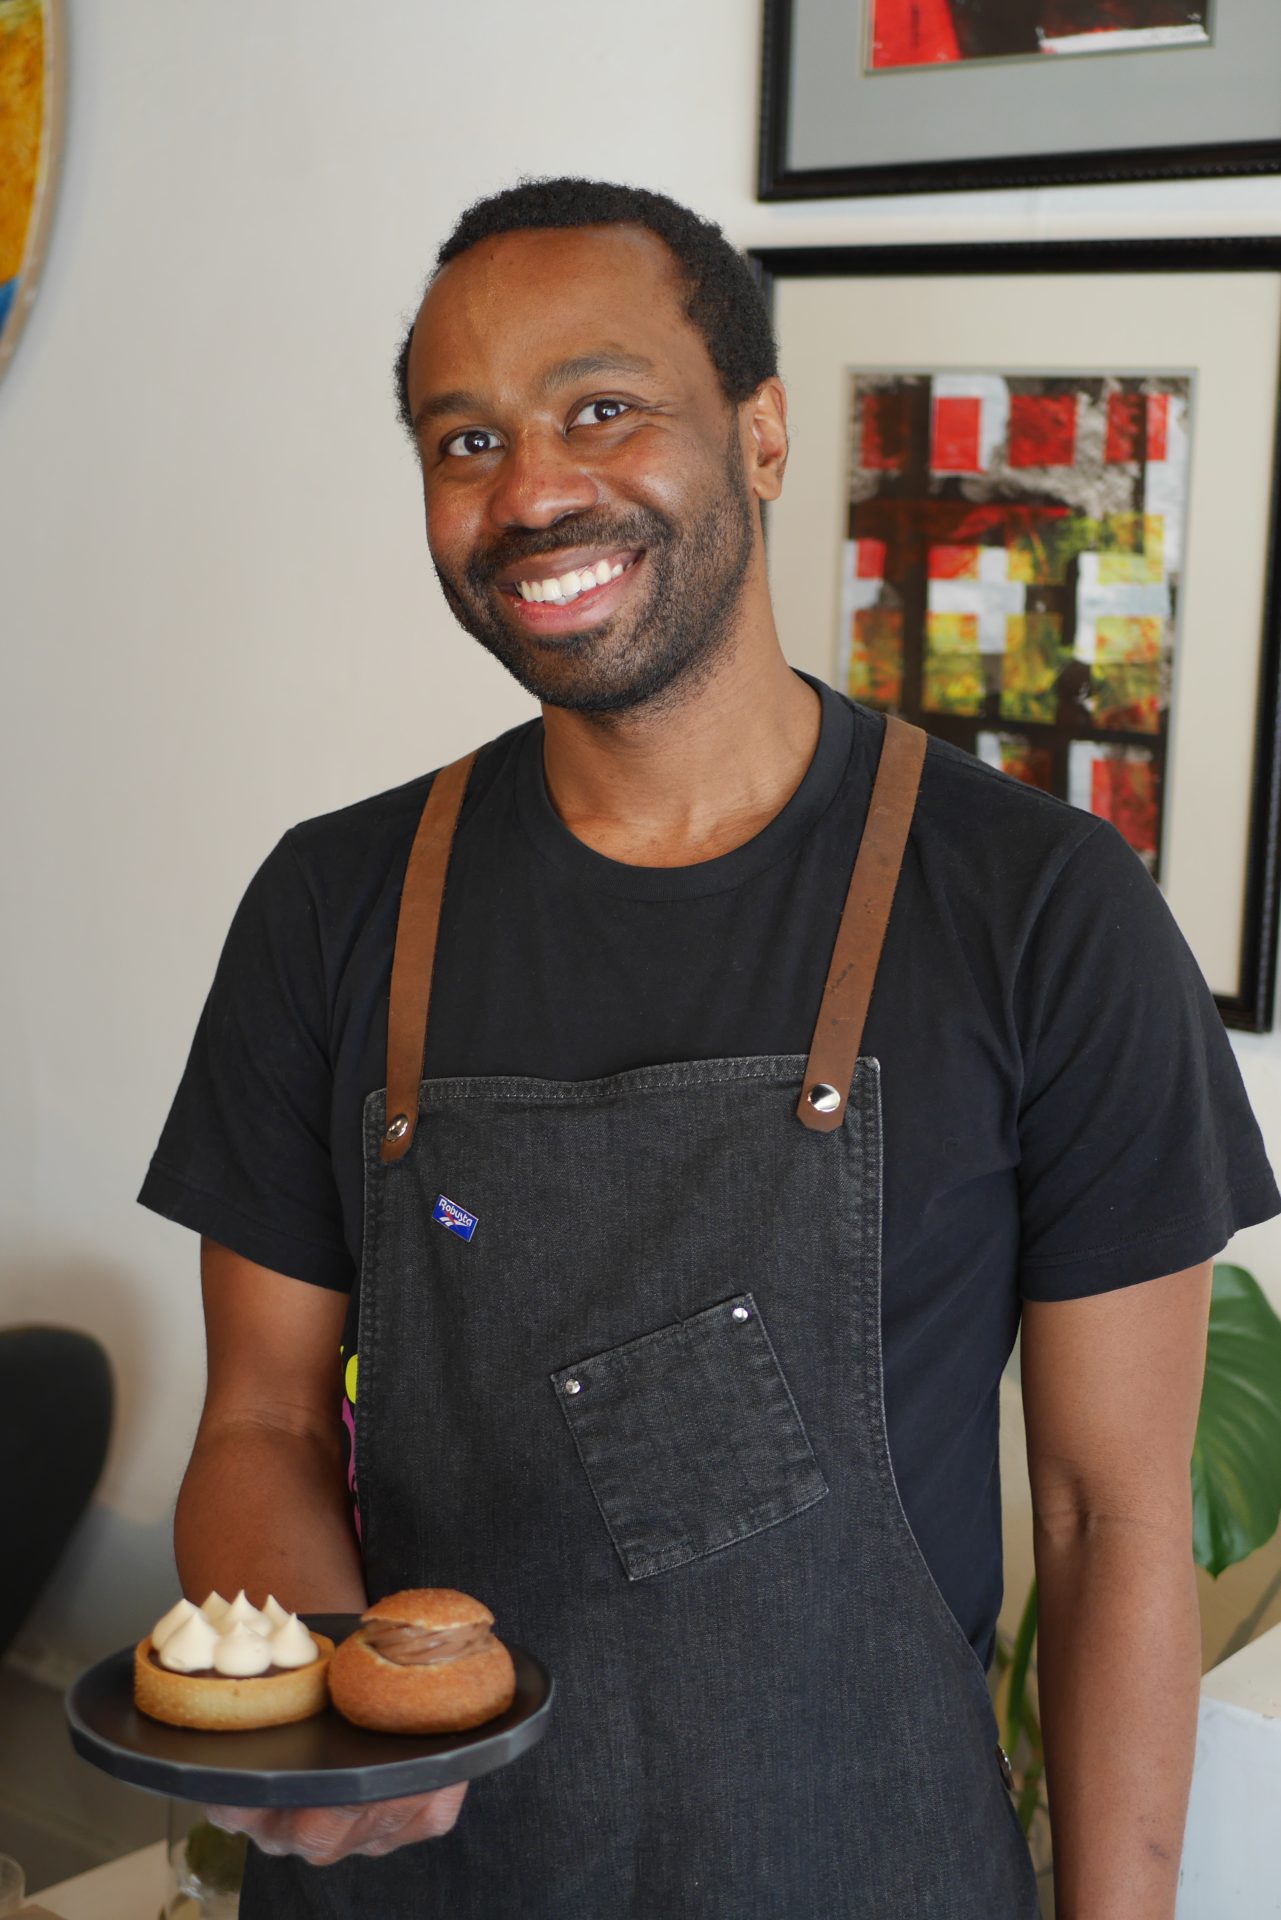
Chocolate tart is my favorite treat and is relatively easy to make. It’s just a tart shell with chocolate ganache! What I like about this treat is that it is easily transportable, you can customize the ganache to your own taste very easily by infusing the cream with vanilla, tonka or even chili pepper if you are feeling adventurous.

The easiest part of the recipe is the ganache. People get scared when they read that term when it’s actually just a combination of whipping cream and chocolate. To make your life easier for the ganache, make sure to chop the chocolate in small pieces and slightly melt it before adding whipping cream into it.

The hardest part is making the tart shell. You don’t have to line it on a tart ring, you can use a regular tart mould if it feels easier.  But if you feel like lining a tart and are still unsure how to do it, I have a reel on my Instagram that shows you how to line a tart.

Because a chocolate tart has a good shelf life at room temperature (1 – 2 days easily), I often bring lots of tarts with me when camping and make bougie s’mores with them.

Let’s get to the recipe !

chocolate tart

Tips to succeed when making
this

1

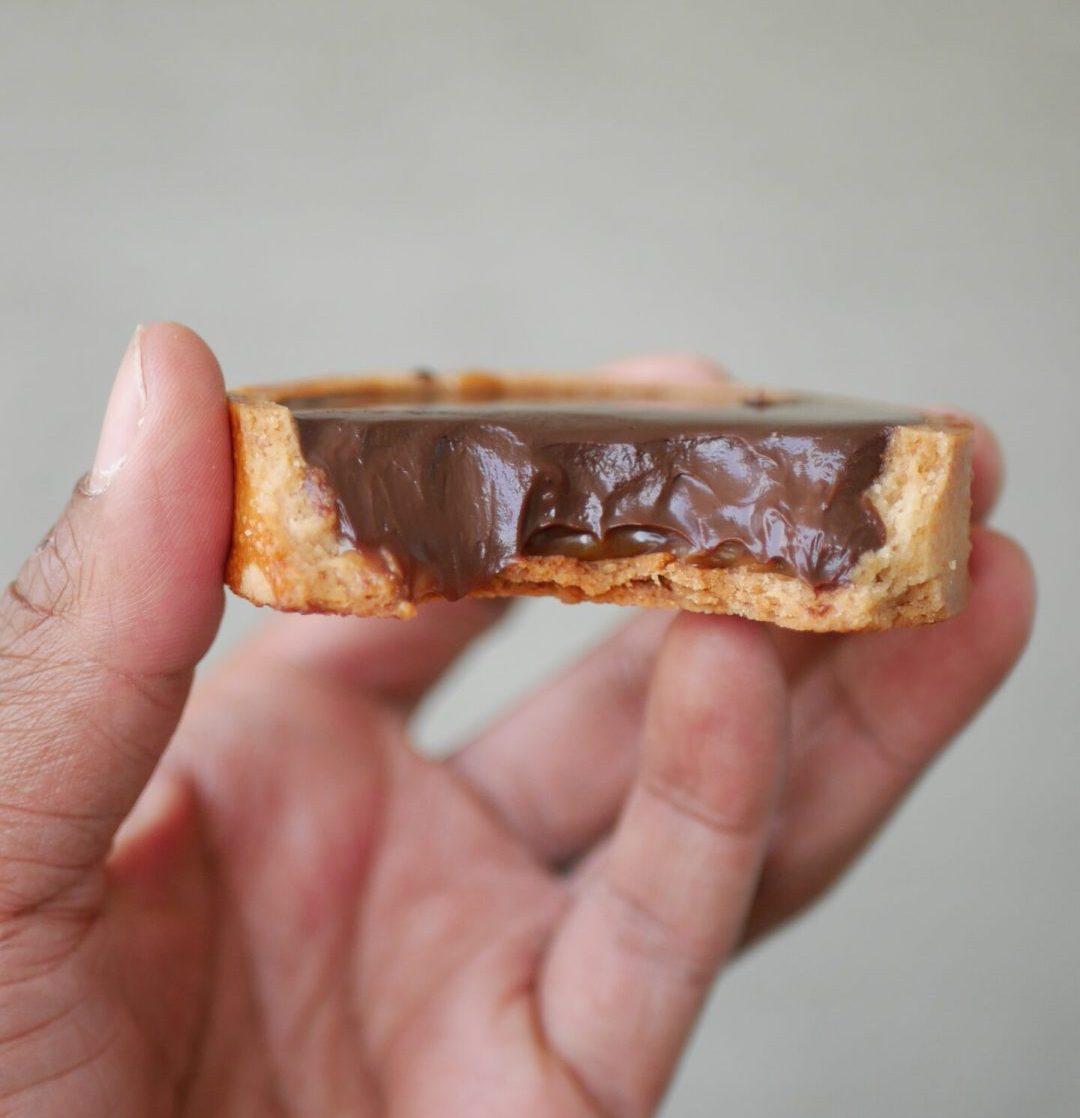
The secret to get a creamy and silky ganache is to let the chocolate tart rest at room temperature for a few hours before putting it in the fridge. This will allow your chocolate to crystallize slowly. That means that the chocolate and the cream will have time to combine together at a slow pace.


chocolate tart

Chocolate tart

Prep Time 3 hours
Servings 10

Equipment

  • Tart ring or tart mould
  • hand mixer or stand mixer

Ingredients
  

Sugar pie dough (you can freeze the leftovers)

  • 115 g butter
  • 20 g almond flour
  • 70 g icing sugar
  • 1 pinch of salt
  • 1 egg
  • 210 g flour

Milk chocolate ganache

  • 300 g milk chocolate
  • 300 g whipping cream
  • 15 g honey

Instructions
 

  • Sugar pie dough
  • Use the flat beater with your stand mixer bowl to whisk together almond, butter, icing sugar and salt at low speed. Once homogeneous, add the eggs one by one. Don't worry if there are still lumps. They will disappear once we add flour. Add the flour little by little. The dough should NOT be smooth, it should still be clumpy. Remove from the bowl and finish smoothing it out by hand. The reason why we are doing this? We want to make sure that we don't overknead our dough. Lots of bakers have trouble with their pie dough retracting when they bake it. It's actually because gluten activates and becomes elastic. If you knead the dough for too long (even with the flat beater!), it can retract during baking. Cover your dough and let it rest for at least 2 hours in the fridge.
  • You can either line the dough in a regular tart mould or line on a tart ring: cut out 1/3 of the dough and keep in the fridge. Spread the bigger part until you reach desired thickness (for me it's 2‑3 mm). Cut the dough according to the size of your tart ring. Place your tart ring on parchment paper before transferring the dough on tart ring. Spread the other part of the shortcrust dough until you get a 2‑3 mm thickness. Cut into bands that are as large as the height of your ring (mould). Line onto your ring and the other part of the shortcrust. Make sure it is well lined, cutting the sticking parts. And very important: poke the dough with the fork everywhere. If you are unsure of the technique, Watch my video showing how to line a tart.
  • Bake in the oven at 170C (340F) for 20 minutes or until light brown. Remove the tart ring if you have one, bake for 10 more minutes to make sure the sides of the tart are being baked. Let your tart cool down for at least 30 minutes.

Chocolate ganache

  • Melt your chocolate in a double boiler or in the microwave and pour in a bowl.
  • Heat you whipping cream to a boil with honey.
  • Pour the whipping cream into the melted chocolate and whisk until it becomes homogenous.
  • Pour the ganache into your tart shells. Let them rest either at room temperature for a few hours or in the fridge until the ganache has settled and gotten more solid.

Notes

Melting chocolate before pouring the cream is a step I added to make the ganache process easier. If the chocolate is not melted, it will be more difficult (but not impossible) to mix together whipping cream and chocolate.
If you want the ganache to be silky, let the tart rest at room temperature.
I provide here the recipe with milk chocolate but you can easily do it with dark chocolate as well. If you use dark chocolate, just make sure to use more whipping cream. With dark chocolate I would use 360g of whipping cream instead of 300.


4.3 3 votes
Article Rating
Subscribe
Notify of
guest

4 Comments
Oldest
Newest Most Voted
Inline Feedbacks
View all comments
Alyssa

These look amazing and I love the flat-edged tart pan you used! Do you know where I can find one, as opposed to the fluted-edge style?

Last edited 2 years ago by Alyssa
Paul

Found your site via LinkedIn, and it’s an inspiring story. I did a PhD in Switzerland but moved away after – I miss Carac and this looks similar, but there would be icing on top. Would love a good recipe for carac though!